
Set-Up is as simple as charging your battery and hanging the unit from a crane hook!
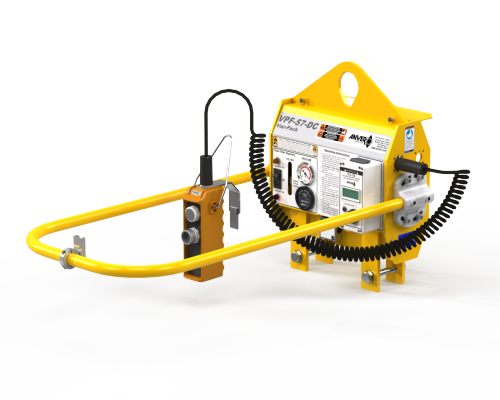
ANVER’s Battery Powered Vac-Pack Vacuum Generators contain the same features as the standard Electric Powered Vac-Pack Vacuum Generators but include a rechargeable 12 Volt DC battery, making it suitable for handling non-porous loads. It is commonly used for special applications where AC power is not readily available below the hook. Two main standard generators can be easily mounted to hundreds of potential lifting pads and beams. They recharge with standard 115V AC power. We have recently redesigned these Vac-Packs with the latest new pumps, controls and batteries and they work better than ever.
If you are considering a battery system we recommend you purchase a spare battery and charger. As with all battery powered equipment, it is necessary to use the battery on a regular basis and recharge when capacity runs low.
For our convenient lifting application chart, click here.

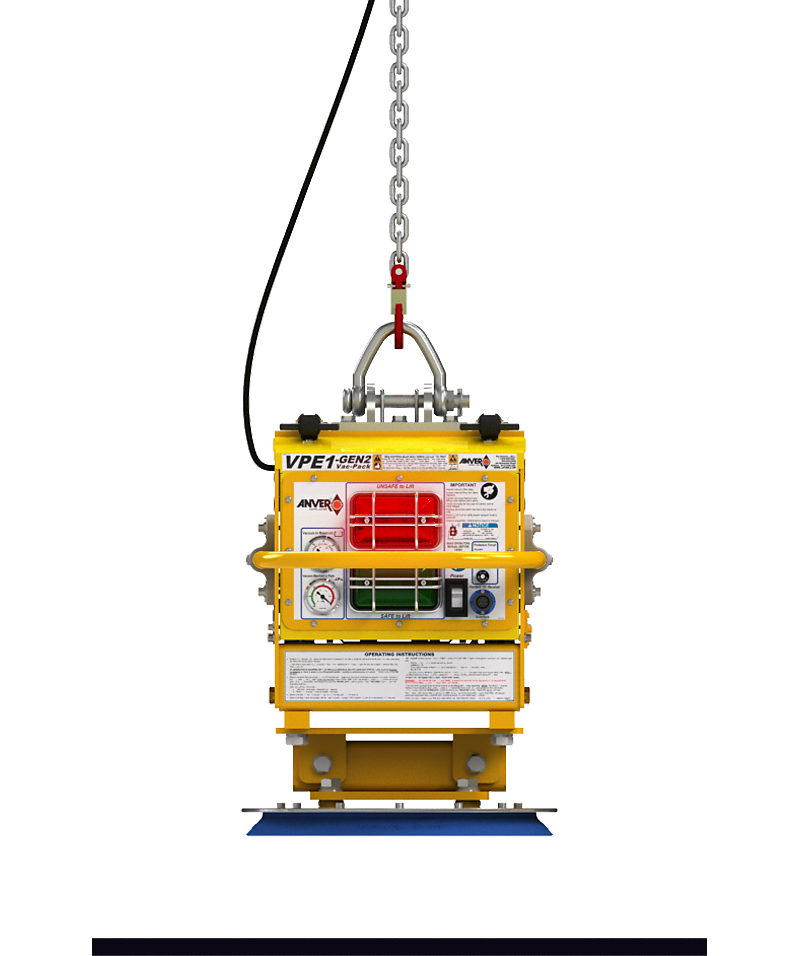
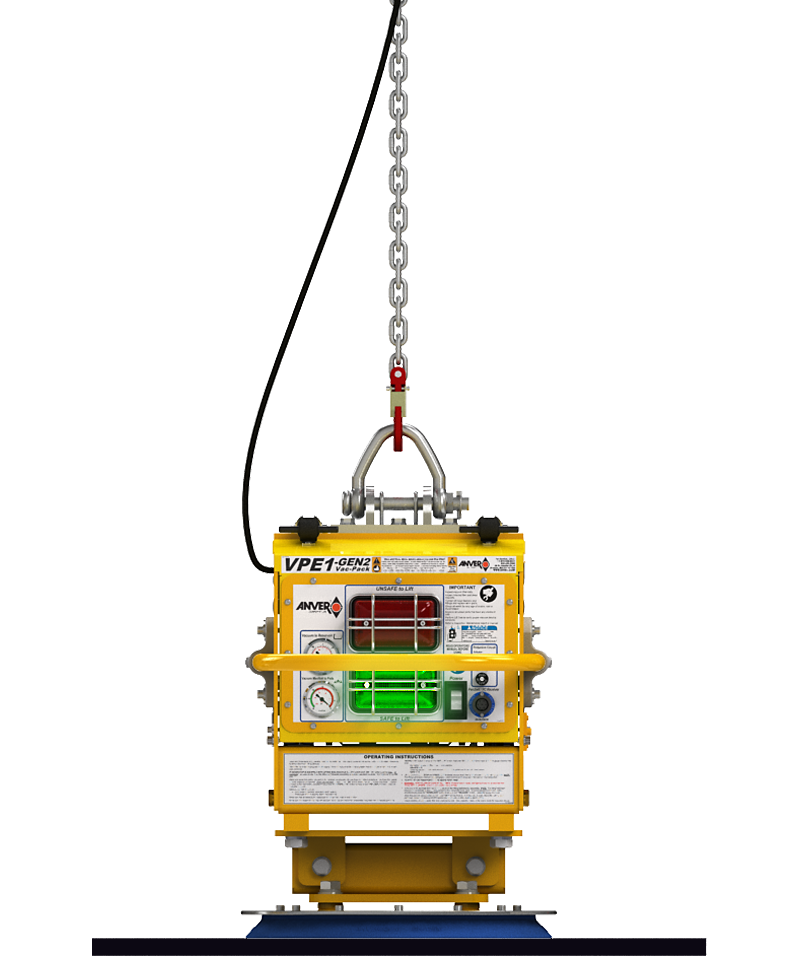
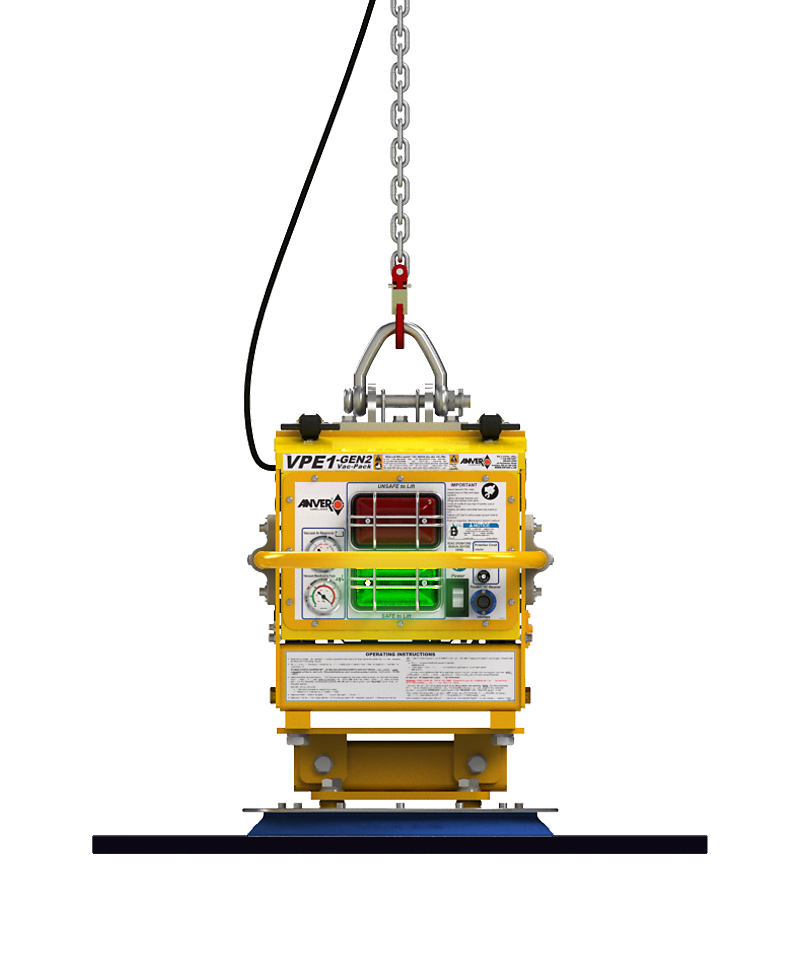
The vacuum attach-and-release cycle is controlled by a switch connected to the lifting bail. When the unit is lowered onto the load and the suspension chain slackens, the full weight of the lifter is on the load, and a switch automatically starts the attachment process. Once the proper vacuum level has been achieved, a green light will illuminate letting you know it is now safe to lift. When you are ready to put the load down, lower the unit until the chain is slack, the switch will now start the release process. Once vacuum has been released you can now raise the unit with the hoist controls and you are now prepared for your next lift.
The vacuum attach-and-release cycle is controlled by a switch connected to the lifting bail. When the unit is lowered onto the load and the suspension chain slackens, the full weight of the lifter is on the load, and a switch automatically starts the attachment process. Once the proper vacuum level has been achieved, a green light will illuminate letting you know it is now safe to lift. When you are ready to put the load down, lower the unit until the chain is slack, the switch will now start the release process. Once vacuum has been released you can now raise the unit with the hoist controls and you are now prepared for your next lift.
The vacuum attach-and-release cycle is controlled by a switch connected to the lifting bail. When the unit is lowered onto the load and the suspension chain slackens, the full weight of the lifter is on the load, and a switch automatically starts the attachment process. Once the proper vacuum level has been achieved, a green light will illuminate letting you know it is now safe to lift. When you are ready to put the load down, lower the unit until the chain is slack, the switch will now start the release process. Once vacuum has been released you can now raise the unit with the hoist controls and you are now prepared for your next lift.
The vacuum attach-and-release cycle is controlled by a switch connected to the lifting bail. When the unit is lowered onto the load and the suspension chain slackens, the full weight of the lifter is on the load, and a switch automatically starts the attachment process. Once the proper vacuum level has been achieved, a green light will illuminate letting you know it is now safe to lift. When you are ready to put the load down, lower the unit until the chain is slack, the switch will now start the release process. Once vacuum has been released you can now raise the unit with the hoist controls and you are now prepared for your next lift.
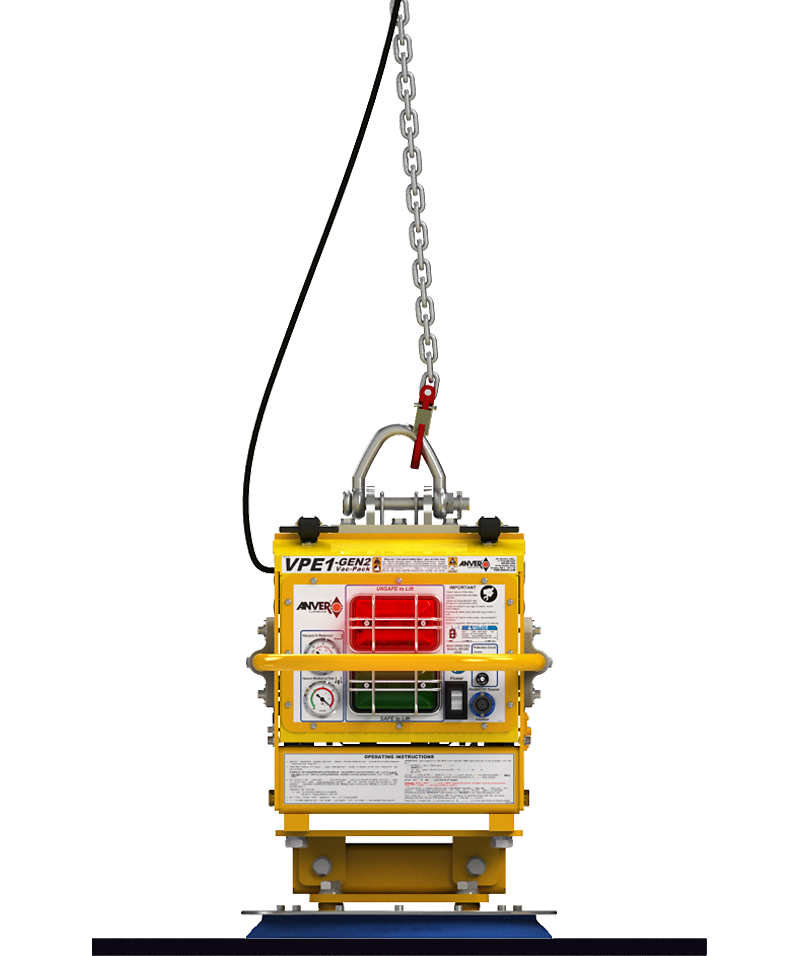
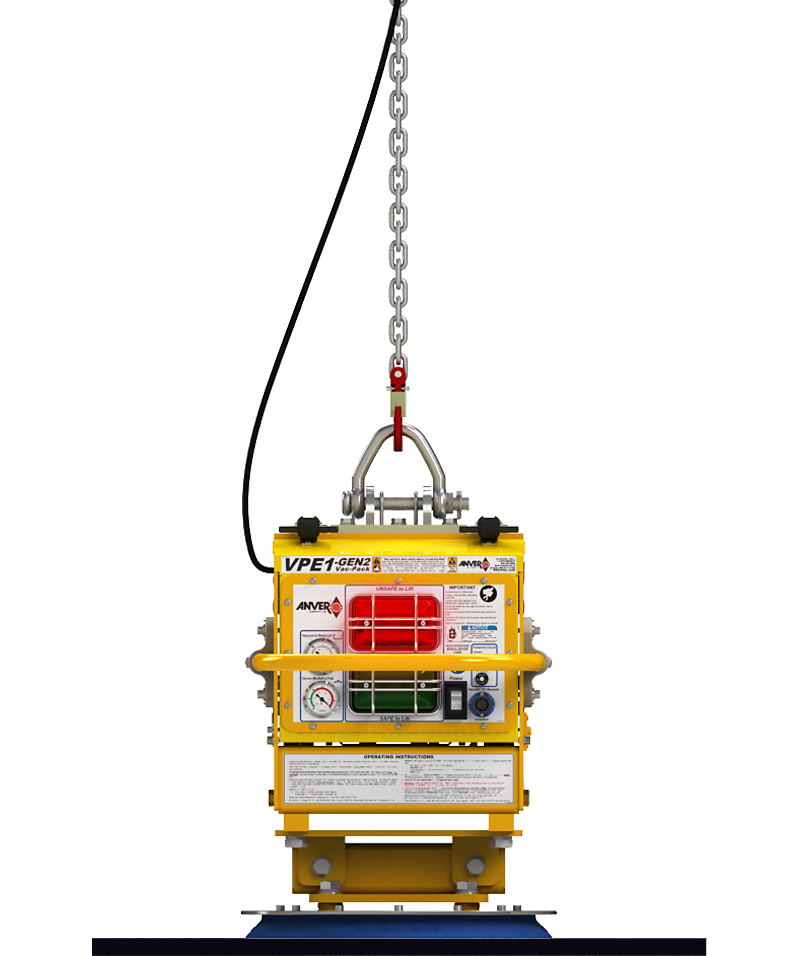
When the unit is lowered onto the load and the hoist chain slackens, the full weight of the lifter is on the load, and the internal switch automatically starts the attachment process.


Make sure you have selected a Vacuum Lifter with adequate capacity to lift your heaviest load, and enough vacuum cups to support your longest, widest and thinnest load.
Click here to see how we calculate this.

Make sure your hoist and crane have adequate lifting capacity.
Remember, you need to deduct the vacuum lifter weight from the hoist and crane to get your overall capacity.
Check if you have adequate headroom
in your application for the lifter and
the load being lifted.
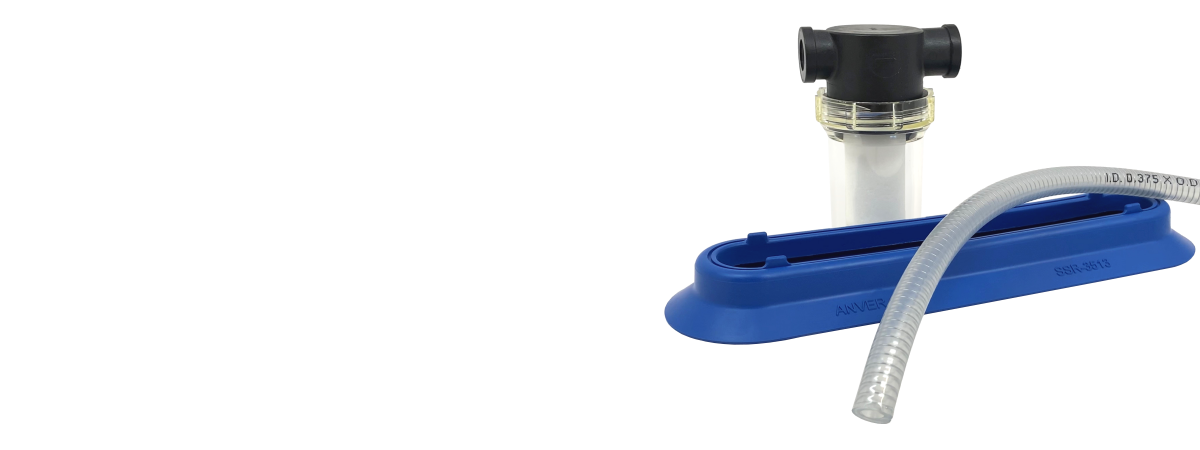
Spare and Replacement Parts
Have you ordered key spare parts such as vacuum cups or seals? While they do last, this will probably be the first item needing service.


